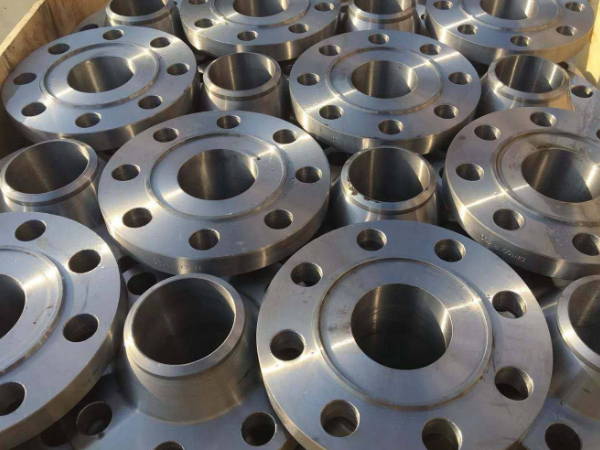
Reasons for cracking of stainless steel flanges
1) Physical and chemical analysis
First, the chemical composition of the stainless steel flange is analyzed, and the analysis results show that the chemical composition of the flange and the welding material meets the requirements of the relevant standards. The Brinell hardness test was carried out on the outer surface of the flange neck and the sealing surface, and the Brinell hardness test value met the requirements of the JB4728-2000 standard. Under the premise that the chemical composition of the material is qualified, the hardness test is qualified, the pipeline installation meets the technical requirements, and the pressure test operation specification, cracks appear in the pipeline flange during the pressure test process, indicating that the defect is related to the internal structure of the flange or other unknown factors.

2) Analysis of crack properties
The leaking flange was cut off from the pipeline, and a comprehensive macro inspection was carried out. It was found that there were cracks on the inner surface of the flange, with a maximum length of 3 mm and a width of 0.5 mm. The cracks and their vicinity produced rust spots, which were also found on the inner surface of the bolt holes of the flange. More cracks were found, and many non-metallic inclusions were found on the sealing surface of flanges and other places. Some non-metallic inclusions formed small pits on the surface of the sealing surface of the flange due to falling off. The maximum pit is 2.0 mm. The smallest pit is 0.8 mm, and there are tiny cracks visible to the naked eye on the edge of the pit.
3) Determination of crack properties
According to the above analysis results of the flange crack morphology, fracture characteristics, microscopic morphology and metallographic structure, it is shown that the crack occurred in the flange production process and belongs to the forging crack along the tip of the inclusion. In order to eliminate the flange, the surface Significant cracks, repaired and welded before leaving the flange factory.
4) Analysis of crack causes
Due to the presence of a large number of non-metallic inclusions in the forging billet used to make the flange during the forging process, the volumetric inclusions are repeatedly forged into regional inclusions, resulting in forging cracks along the tips of the inclusions in the material. The inclusions turn into larger cracks, and the smaller inclusions turn into smaller microcracks after forging. Most of these cracks are buried cracks. After the forging blank is processed, some buried cracks become surface cracks, which is why many micro-cracks appear on the inner and outer surfaces of flange holes and bolt holes during macro inspection. For large cracks on the surface of the flange, in order to make the product leave the factory, the manufacturer has taken measures such as grinding to eliminate surface cracks, repair welding and reprocessing, so that there are no obvious defects on the surface of the flange, which is why the repair welding area of the flange is 380mm2, the reason why the repair welding depth is 3mm.
Take measures
1) Replace all defective flanges, continue to search for other pipe fittings of the same manufacturer and batch used in this device, and use corresponding inspection methods to confirm whether they are qualified;
2) For the newly replaced flange, in addition to the re-inspection of its chemical composition and mechanical properties, a macro inspection should be carried out to evaluate its geometric dimensions and surface finish, and to check whether there are abnormal geometric discontinuities.

